Invitations
The Invitations page lets network owners (and system admins) invite users to a network with a chosen role and permissions. Invitations work when OIDC is configured; invited users sign in via the IdP and then gain access to the specified network.
What invitations are
An invitation associates an email (or link) with a network, a role (e.g. member, admin), and optional permissions (can manage nodes, can invite users, can manage firewall). The invitee accepts by clicking a link or using a token; after acceptance they appear as a user with access to that network according to the role and permissions.
Creating an invitation
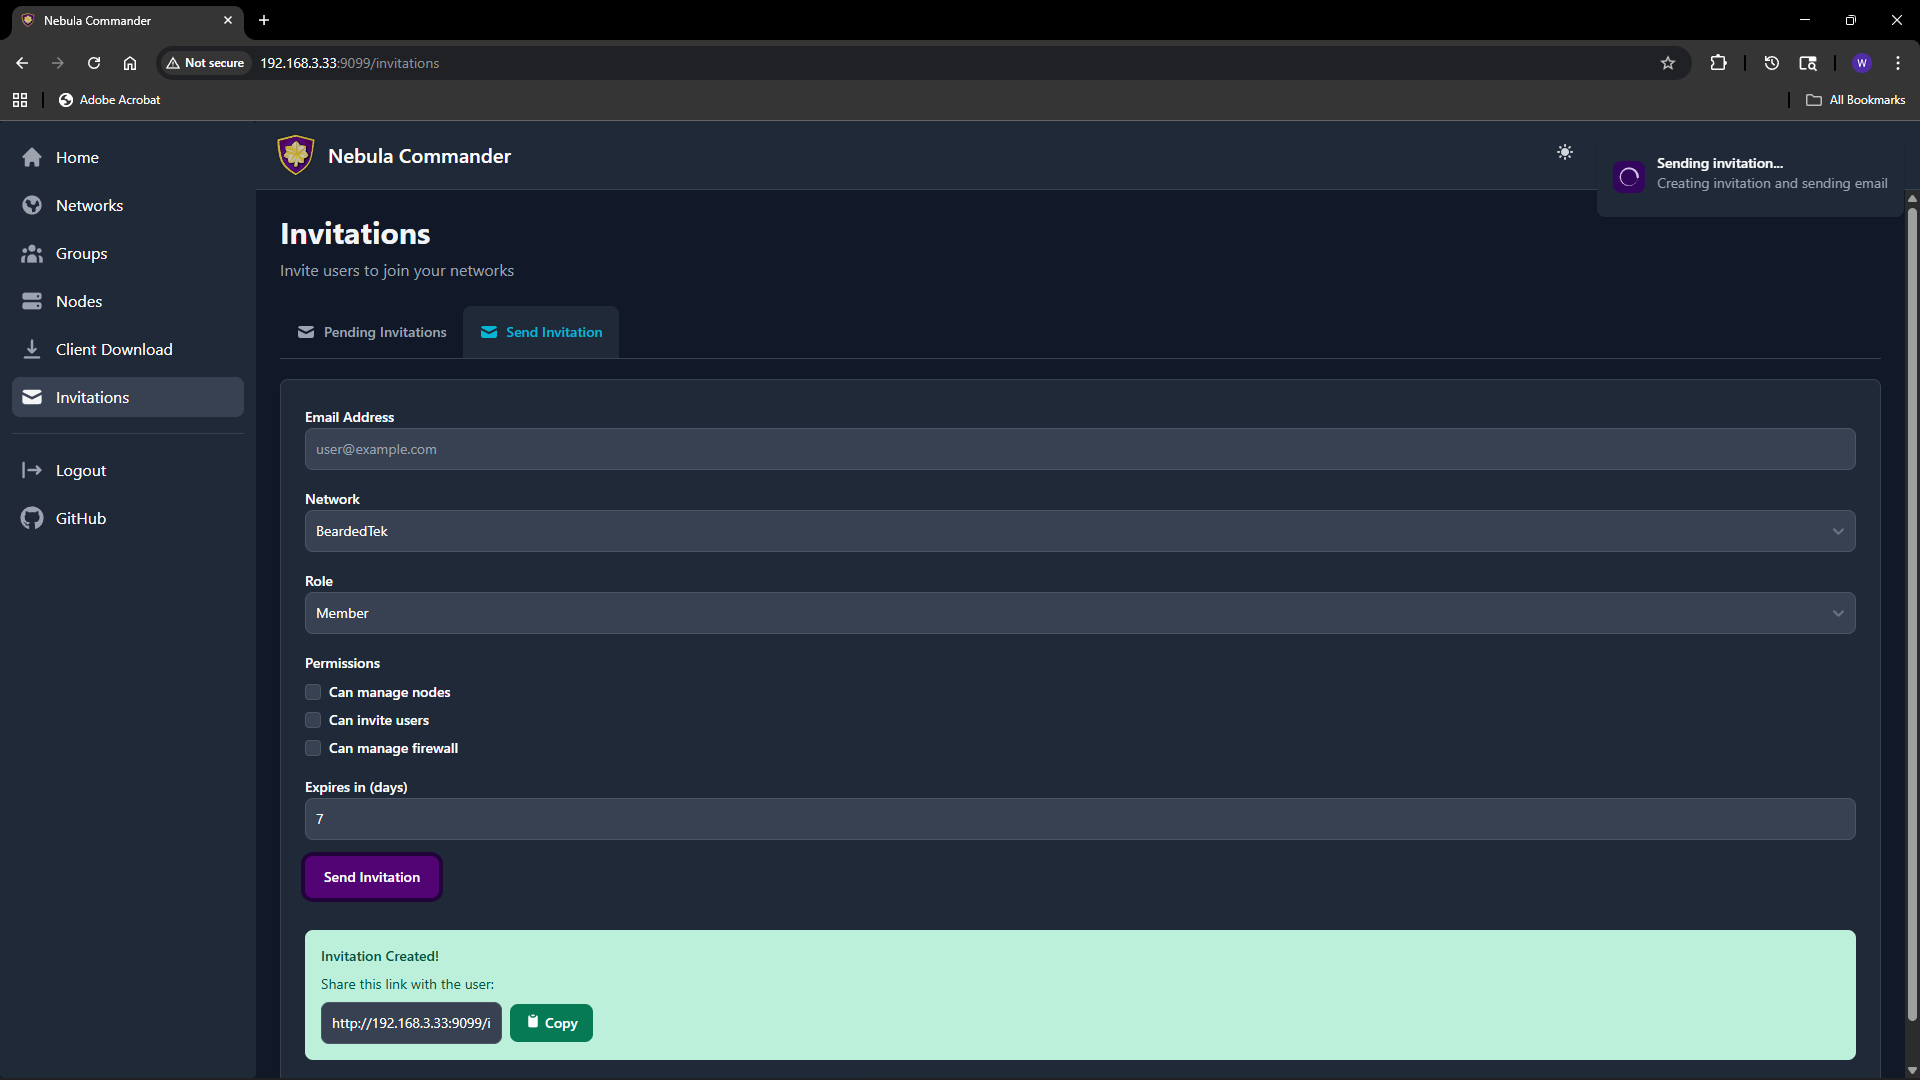
- Open Invitations in the sidebar.
- Use the “Invite user” or similar form.
- Fill in:
- Email – Invitee’s email (used for the invite link and, if SMTP is configured, to send the email).
- Network – The network to grant access to.
- Role – e.g.
memberoradmin. Affects default permissions. - Can manage nodes – Allow the user to add, edit, delete nodes in this network.
- Can invite users – Allow the user to send further invitations for this network.
- Can manage firewall – Allow the user to edit groups and firewall rules for this network.
- Expires in (days) – How long the invitation link is valid (e.g. 7 days).
- Submit. You can either send email (if SMTP is configured) or copy link to send manually.
The invitation appears in the list with status (e.g. pending, accepted, expired).
Accepting an invitation
The invitee opens the invitation link (from email or shared link). The link contains a token and typically looks like /invitations/accept/TOKEN. They are prompted to log in with OIDC if not already logged in. After accepting, they have access to the network according to the role and permissions set in the invitation.
Listing and revoking
The Invitations page lists all invitations you created (or all invitations in the system if you are a system admin).
 You can see status (pending, accepted, expired), email, network, role, and expiry. To revoke a pending invitation, use the revoke or delete action; the link will no longer work.
Email delivery
If the backend has SMTP configured, invitation emails are sent automatically when you create an invitation. If SMTP is not configured, use “Copy link” and share the URL manually. Email status (sent, failed) may be shown on the invitation row; check the Environment docs for SMTP options.